Decide what you want the fire to do
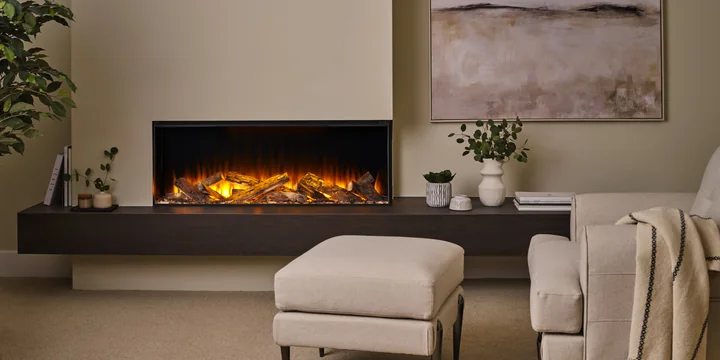
An electric fire can bring the visual focus of a fireplace to a room without burning fuel. Decide whether your priority is the flame effect, occasional additional heat or a wider room redesign. Compare the controls and heat functions of the exact models you like instead of assuming every electric fire works in the same way.
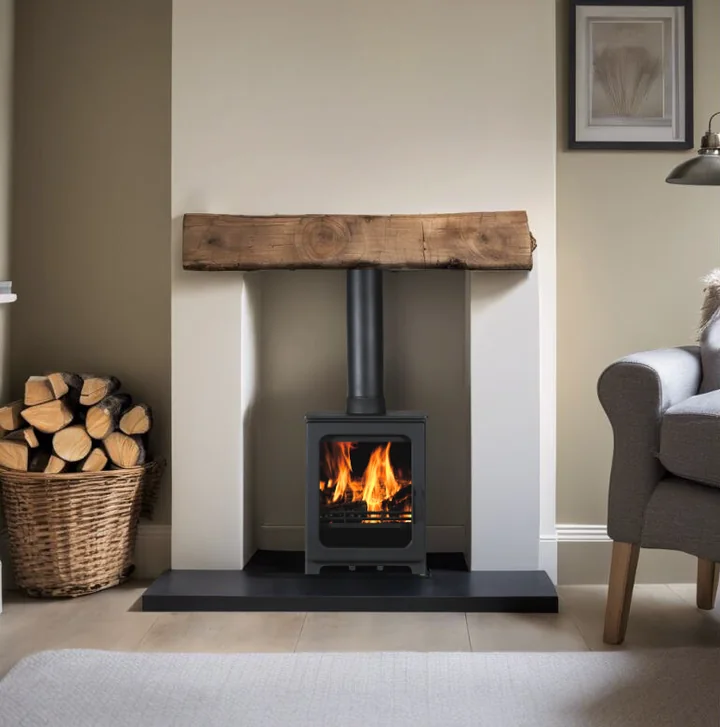
Electric appliances do not need a combustion flue. Their position, electrical supply, enclosure and access still need to suit the manufacturer’s instructions. A freestanding stove and an inset fire built into furniture are different installation projects.
Plan the whole elevation
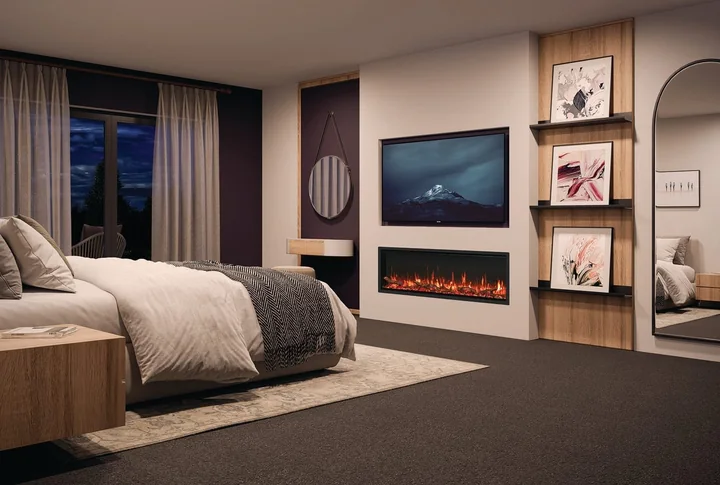
Measure the available wall or fireplace and consider the view from your usual seating positions. Note any television, shelves, doors or existing sockets nearby. Gather a few images showing the proportions and finishes you prefer, then use the product dimensions to build a realistic shortlist.
For an integrated feature, agree the finished opening, surrounding materials and access for servicing before joinery or plastering begins. Ask the responsible installer to check the specific fire’s requirements alongside any television or other equipment in the design.
Make the scope clear
A complete media-wall quote should connect the appliance with the work around it. Share the exact model instructions with everyone involved and confirm who is responsible for each part.
- Fire: the exact size and edition, options, availability, delivery and inspection on arrival.
- Wall and furniture: the enclosure, shelves or cabinetry and any television mounting.
- Electrics: the required supply, cable routes and the person completing the work.
- Finish: plaster repairs, decoration, removal of the old fire and waste disposal.
- Future access: the clearances and servicing access required by the exact appliance instructions.
Think beyond the finished photograph
Check how you will reach the controls, isolate the appliance when needed and arrange future servicing. At handover, ask for a demonstration of the remote, timer and heating settings that apply to your model, together with the manual and warranty details. Clear records make later support easier.
Collect the appliance style, available wall space and any television plans in your enquiry. These details help shape the next conversation.
Questions for your assessment.
- Does the chosen model suit a freestanding, inset or enclosed installation?
- Who will confirm the electrical supply and service access?
- Does the quote include the surrounding construction and decoration?
Sources & useful checks
Sources are listed with their own access dates. Check the current guidance for your address and appliance.
- British Fires: New Forest 1200 formats and installation planning ↗ · accessed 16 October 2026
- British Fires: New Forest installation and operating instructions ↗ · accessed 16 October 2026
- FireFX: Atmos model choices and controls ↗ · accessed 16 October 2026
- FireFX: user and installation documents ↗ · accessed 15 October 2026