At a glance
- Choose the fireplace as a composition, then confirm every material and clearance.
- A non-combustible finish does not establish the suitability of everything behind it.
- Use the exact appliance and surround instructions, not dimensions copied from a photograph.
Give each material a job
The chamber is the backdrop, the hearth anchors the appliance to the floor, and a beam adds a horizontal line above it. They do not all need equal attention. Decide which part you want to notice first, then use the other surfaces to support it.
Begin with something already in the room: a timber floor, an old surround, a favourite chair or the colour of a wall. This gives the fireplace a relationship with the home. A set of attractive samples can still feel unrelated when all of them introduce a different colour or texture.
Two palettes, two different effects
These examples use material choices in the planner. They describe appearance, not an approved installation or a finished project. The important difference is where each scheme places its contrast.
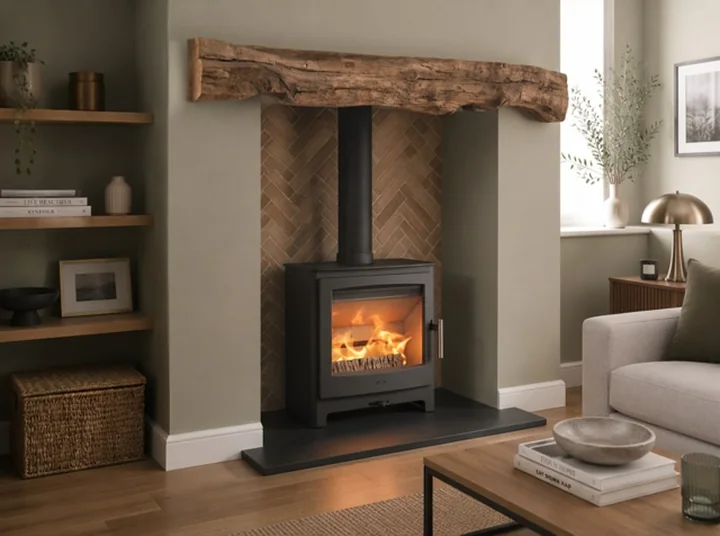
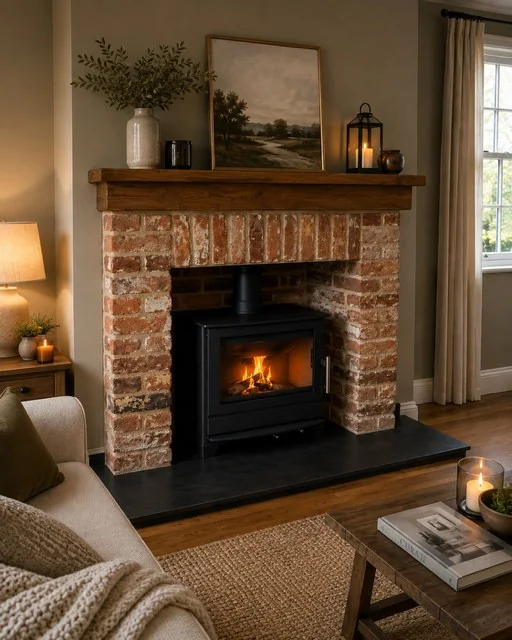
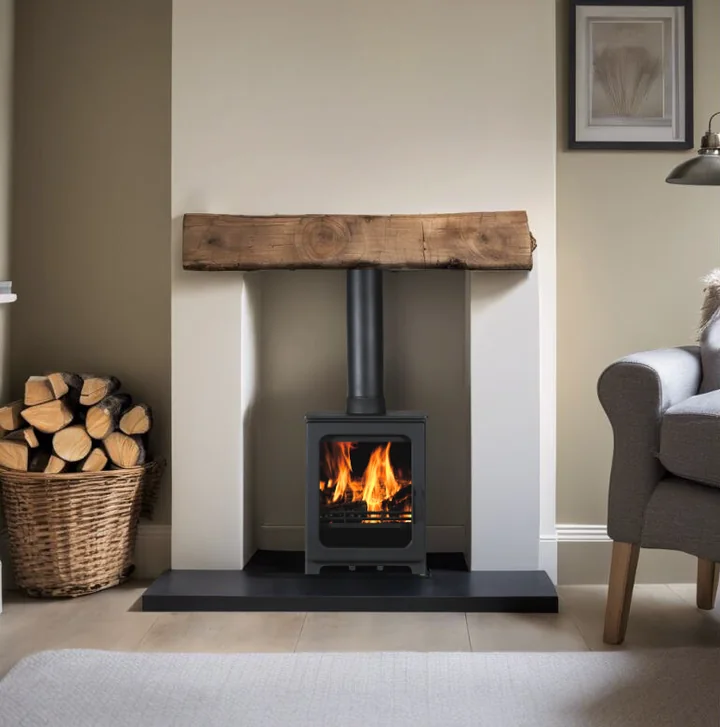
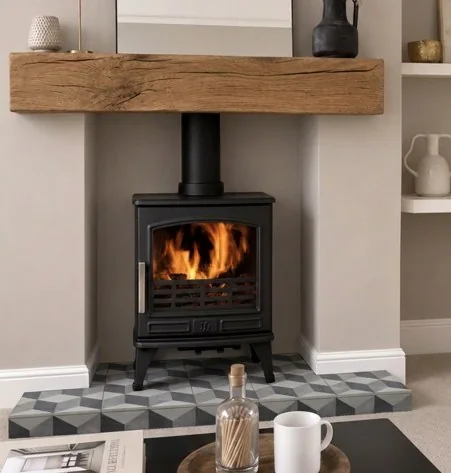
Illustrative catalogue samples and a suggested paint tone, shown together to compare the balance of colour and texture. These are not completed projects, colour matches or installation specifications.
Warm and textured
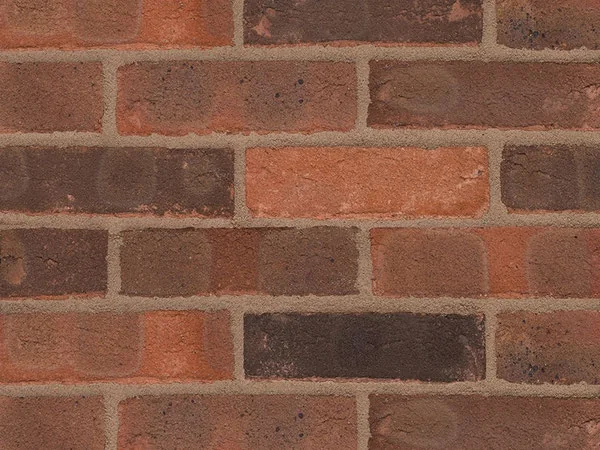
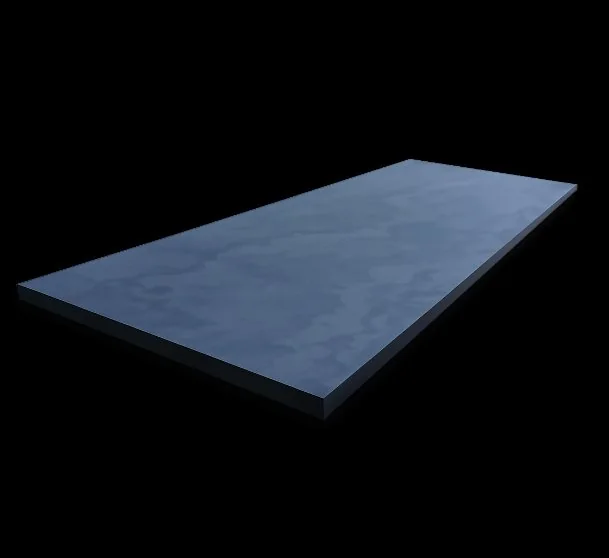
Varied brick leads the composition. A dark base and an oak line give it structure.
Quiet and pared back
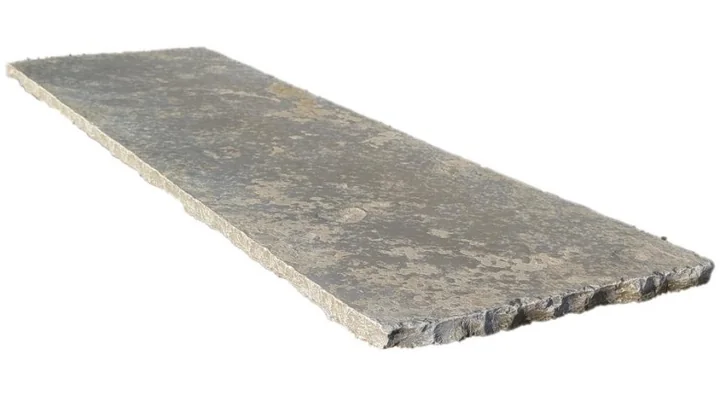
A plain backdrop gives the appliance space. The stone contributes a gentler, varied texture.
| Element | Warm and textured | Quiet and pared back |
|---|---|---|
| Chamber | Ashington Red Multi brick slips, stretcher bond. | A plain painted chamber, colour selected with the room. |
| Hearth | Natural slate: a dark base beneath the varied brick. | Aged limestone: muted variation and a textured edge. |
| Beam | Rustic oak: a further warm horizontal line. | No beam: the opening retains a simpler outline. |
| Main visual decision | Let the brick supply the variation; keep nearby finishes quieter. | Use the dark appliance as the contrast against lighter surfaces. |
| Sample check | Compare brick and oak undertones in daylight. | Compare limestone and wall colour beside the actual floor. |
Look at the edges, not just the swatch
A small sample does not show the full range of natural variation. Request representative samples where available, then look at them in daylight and in the lamps you use in the evening. A phone photograph can alter colour and hide texture.
For brick, consider the bond, joint colour and the way corners are finished. A herringbone pattern brings more movement than a simple stretcher bond. For the hearth, the thickness, edge profile, projection and meeting with the floor can be as noticeable as its colour.
Be precise about provenance. A weathered-looking new slip is not reclaimed brick. If genuine reclaimed material is important to you, establish what is being supplied and what variation to expect. The planner’s named finishes are visual selections, not evidence of a material’s previous use.
A sample review worth doing
- View the material beside the existing floor and wall colour.
- Compare more than one piece where variation is expected.
- Choose the brick joint and edge treatment, not only the brick face.
- Confirm the hearth edge and the finish where it meets the floor.
- Record the agreed material name and sample before ordering.
Let the appliance govern the construction detail
Appearance and suitability are different questions. Timber beams are combustible; a product sold as a non-combustible alternative still has its own installation requirements. Use the exact appliance and beam instructions to establish the permitted position and clearances. There is no universal beam height to copy from a photograph.
Hearth construction also depends on the appliance and installation. A thin hearth visible in a product photograph is not evidence that the same build-up is right for another stove or floor. Use the exact model instructions and the applicable national building guidance to resolve these details with the installer.
Finish the design with an agreed drawing or specification that connects the visual choices to the proposed construction. That is the point to settle dimensions, beam position and opening treatment. Keep the samples as the reference for colour and texture; use the technical documents for suitability.
Further reading: FireFX — Echo and Eton installation instructions · England: Approved Document J · Wales: Approved Document J
A surround also needs secure fixing
For modular stone or artificial-stone surrounds, weight and fixing are separate safety questions. HETAS warns that poorly secured surrounds can fall and cause serious injury. Its advice calls for appropriate mechanical fixing rather than relying on bonding the surround to the wall, with professional installation and care not to overload the mantel.
If the project includes a surround, ask who will specify and install its fixings for the actual wall and components. This fixing guidance does not establish the distance between a beam and a stove; that remains a model-specific installation question.
Further reading: HETAS — Fireplace surround fixing and collapse safety
Sources & useful checks
Source review: 16 October 2026. Sources are listed with their own access dates. Check the current guidance for your address and appliance.
- HETAS — Fireplace surround fixing and collapse safety ↗ · accessed 16 October 2026
- FireFX — Echo and Eton installation instructions ↗ · accessed 16 October 2026
- GOV.UK — Approved Document J (England) ↗ · accessed 16 October 2026
- Welsh Government — Approved Document J ↗ · accessed 16 October 2026